
From Chaos to Checklist: Applying My Consulting Roots to Photography
How a photo taught me that I needed a flexible space and a project plan.

The Scope Creep of a Simple Photo
If you had asked me a month ago how to photograph a vintage computer, I would have said, “Put it on a table and point the camera at it.”
Boy, I was wrong.
I recently decided to shoot my vintage Macintosh Classic. It seemed like a straightforward project. I had one subject, so I used static lighting by the window with no movement.
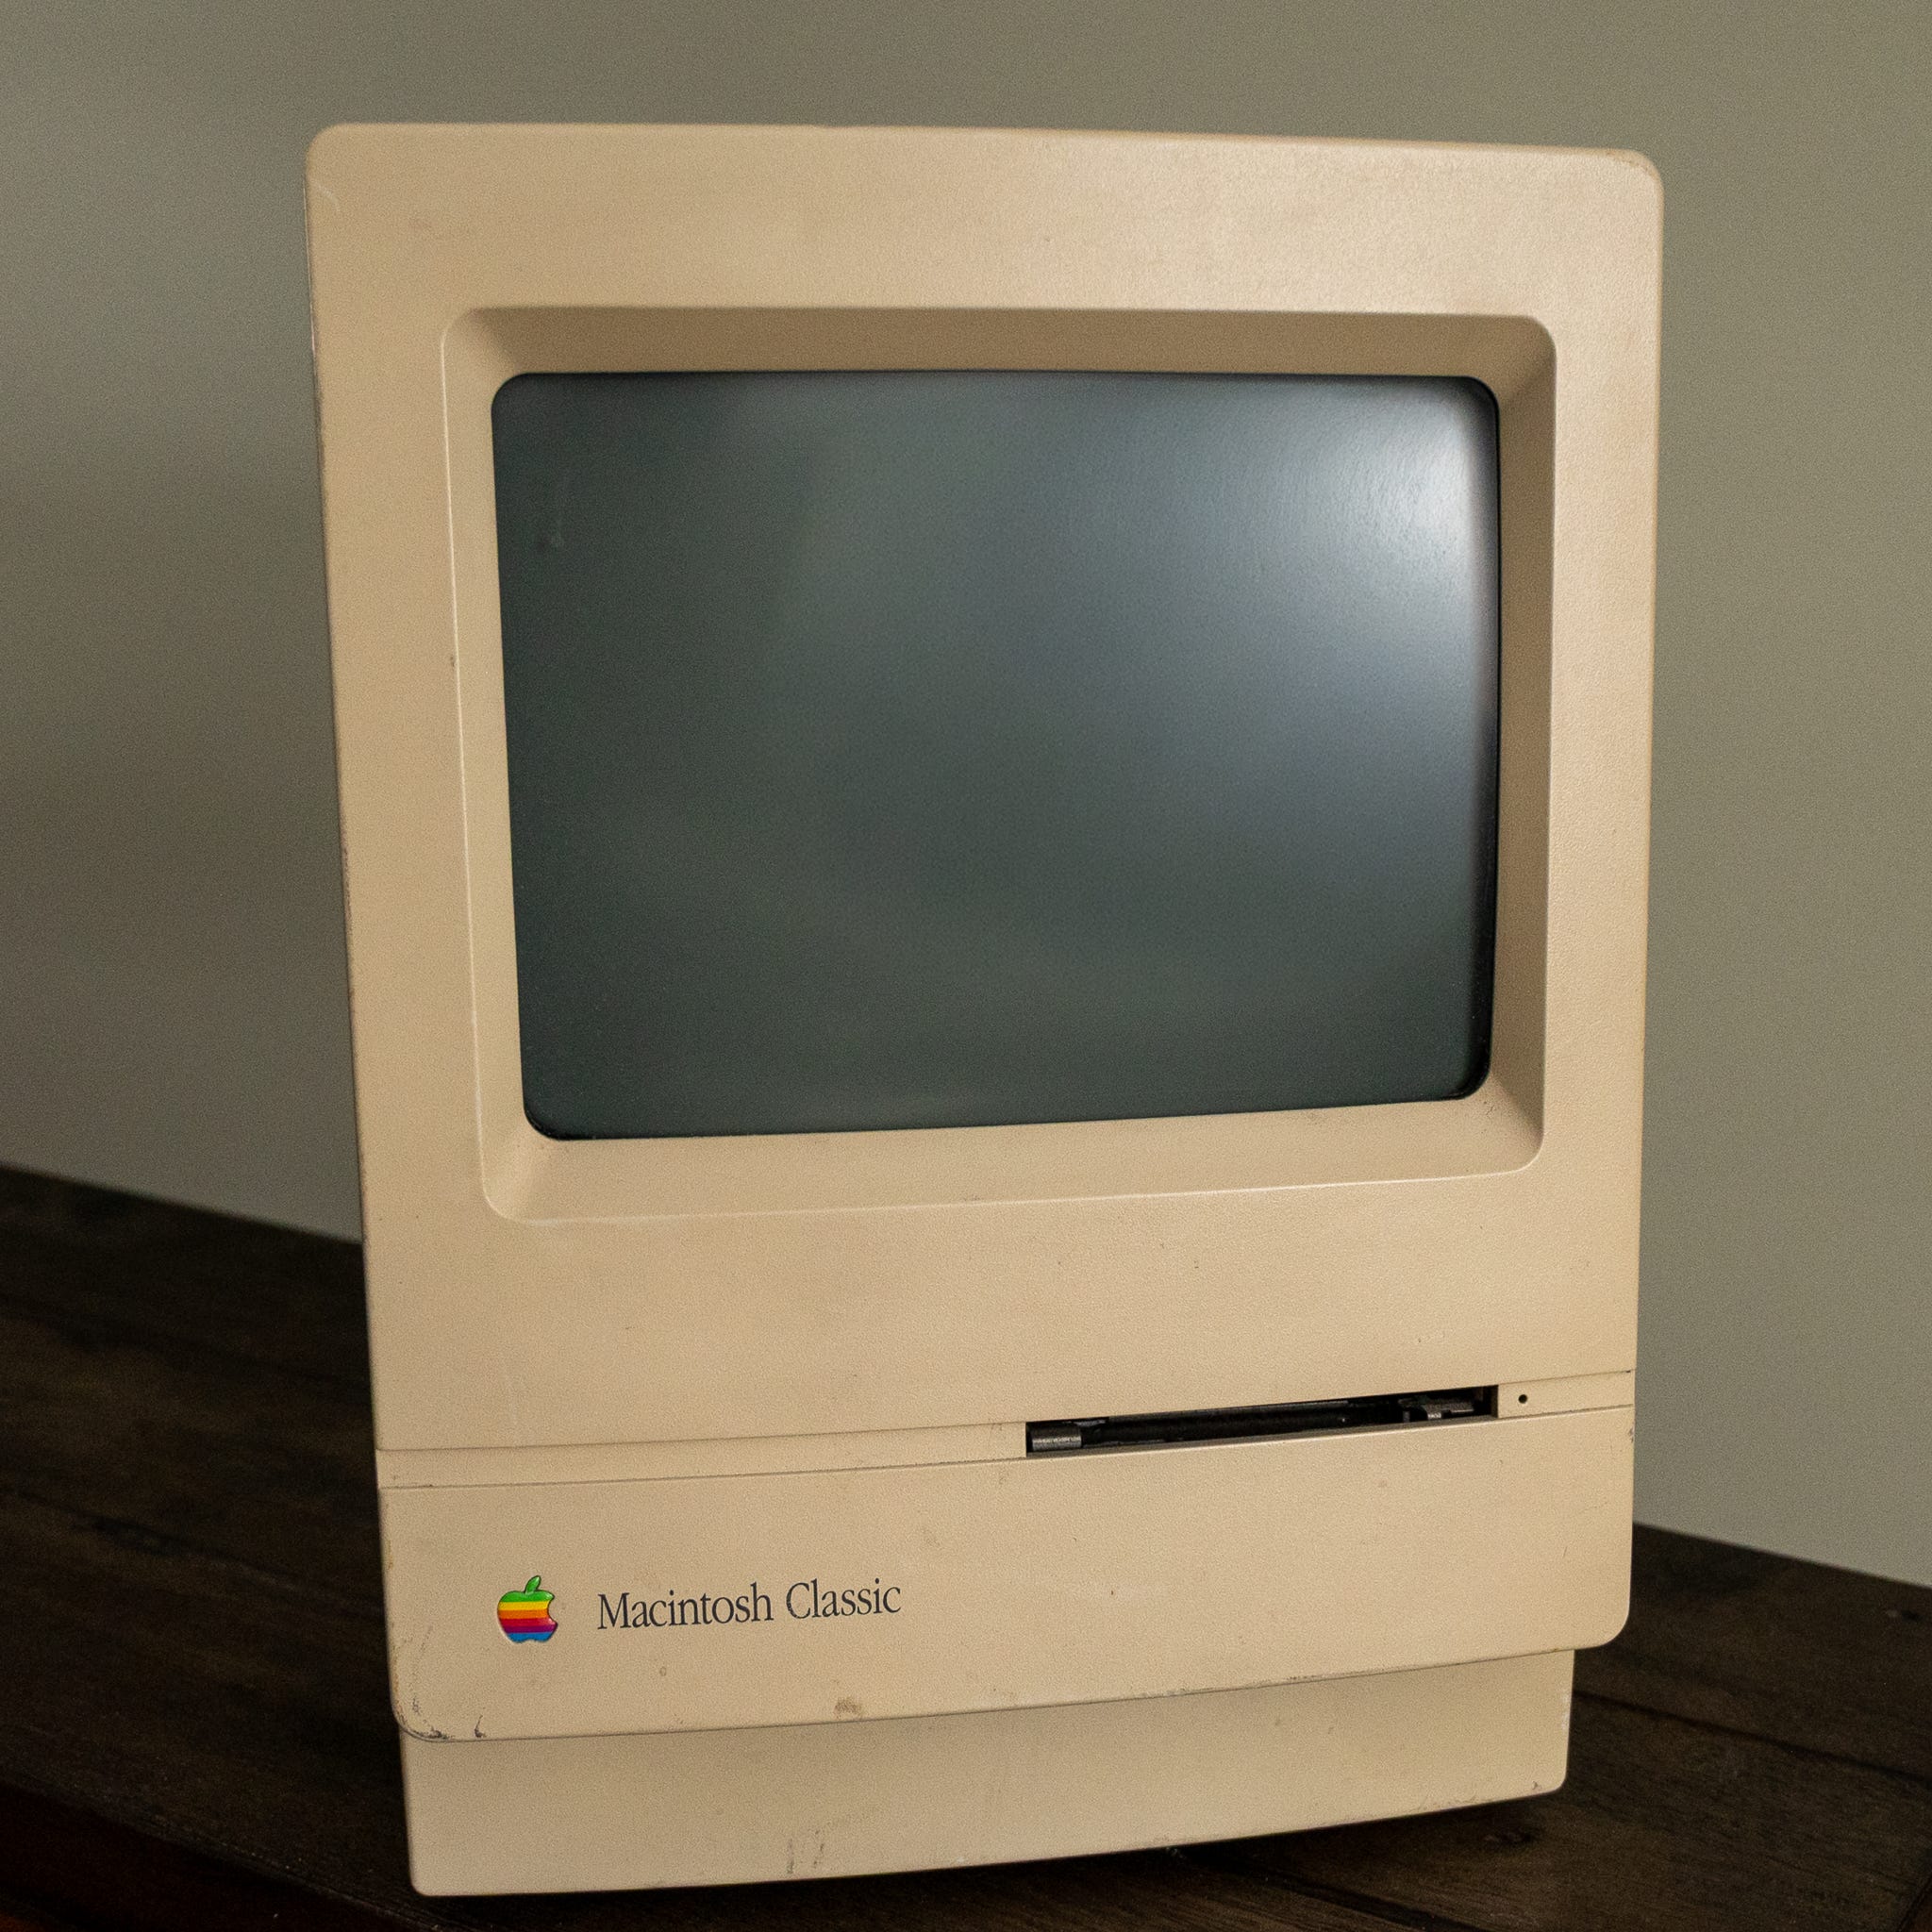
But halfway through the shoot, my basement looked like a Best Buy had exploded. I had cables snaking across the floor, mixed lighting casting weird orange hues on the beige plastic case, and a precarious temporary table almost bowing under the weight of the 16-pound machine.
Worse, I was “freestyling.” I was trying to be “lazy” by just letting the moment flow. The result? A disorganized mess, frustration, and a bunchof unusable test shots.
Budget, Basement, and Family Approval
As a retiree, I don’t have an unlimited hobby budget. I’ve set a strict hard cap of $1,500 a year for my photography. That has to cover everything: gear, my Adobe Photography plan, HeliconFocus, domain names, and even the subscription for the Grammarly editor I’m using to write this. However, this has helped me build a very modest kit over the years.
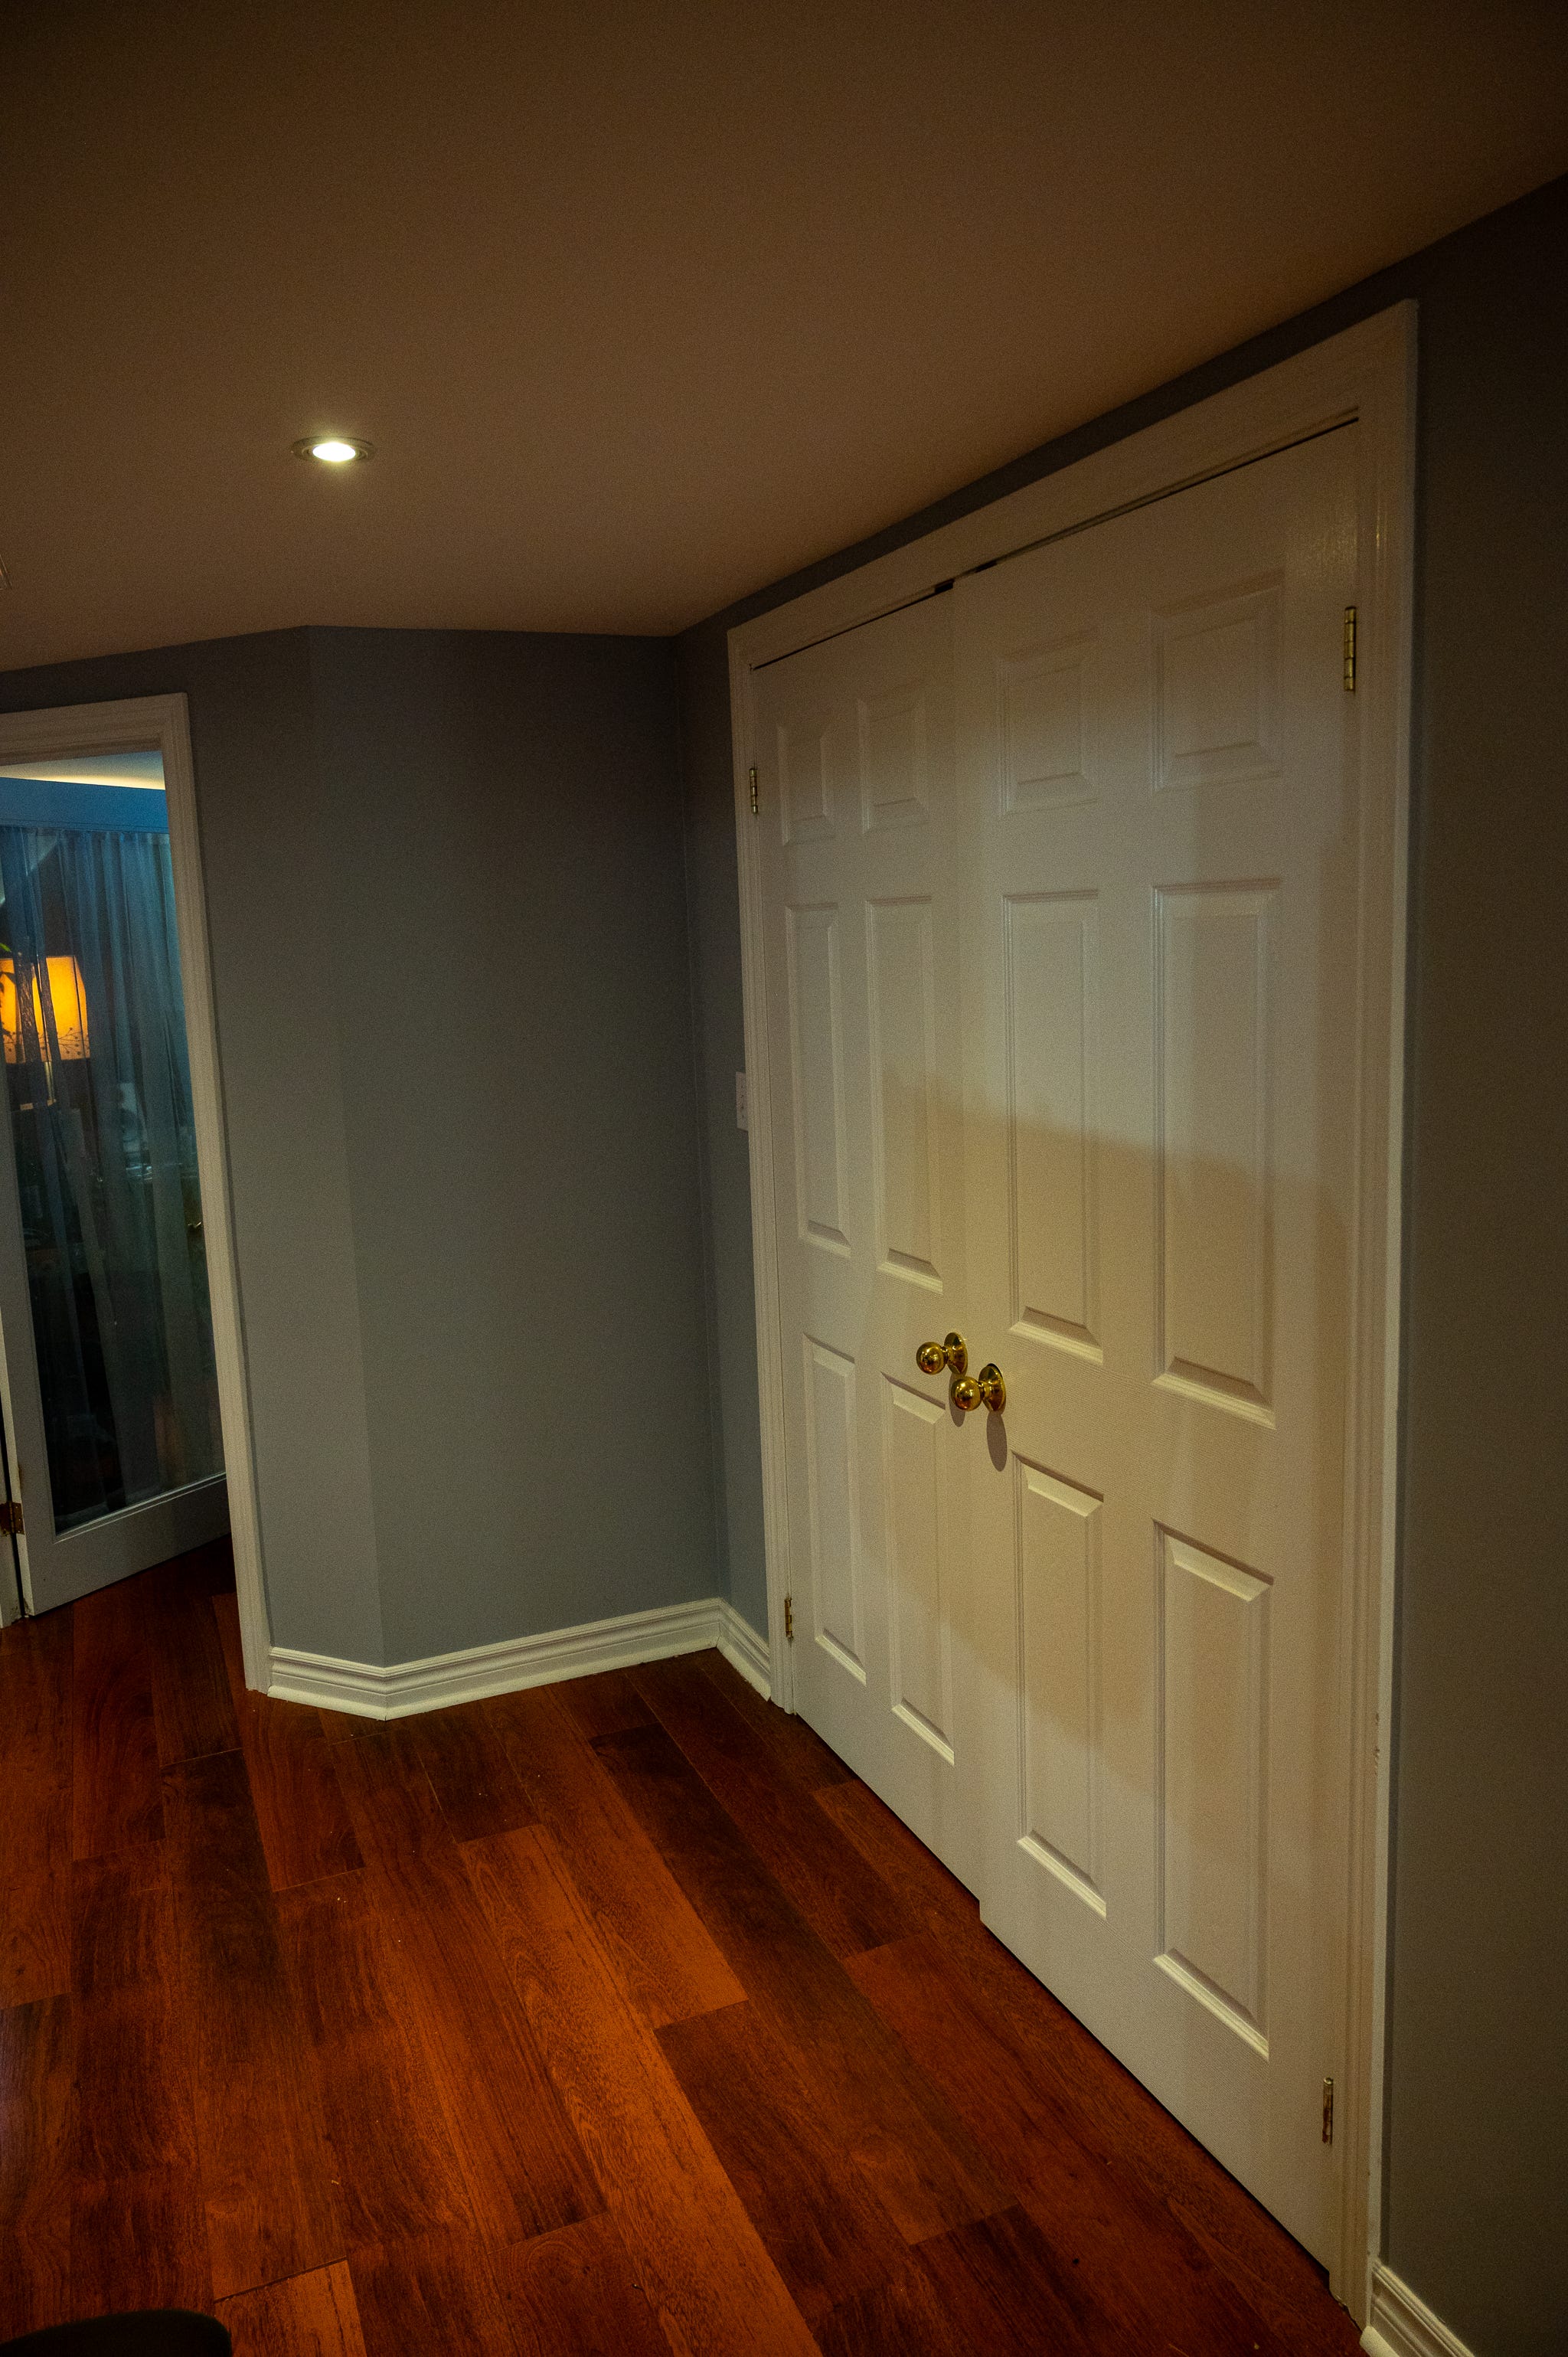
I also don’t have a dedicated studio. I have a corner of the basement—a shared space. My “studio” has a strict requirement: It must disappear. If we have guests over, the gear needs to be broken down and hidden away. The space cannot look like a permanent construction zone.
My first attempt with the Mac Classic failed because I ignored these constraints. I spent too much time fiddling with the light and not enough time planning how I would accomplish the task.
Returning To My Data Analysis Roots
I realized that my problem wasn’t a lack of artistic talent; it was a lack of process.
For decades in my consulting career, I lived and died by the Scope of Work (SOW). A list of deliverables and requirements, along with a detailed work plan, was the only thing standing between a successful project and chaos. Why did I think my photography would be any different?
I realized that nothing generates a learning experience better than doing something with a deadline (even a self-imposed one). I stopped trying to be an “artist” and went back to thinking of the problem as an analyst.
Main Lesson - A Flexible Studio Setup
If I learned anything during my working career, it is that the worst thing you can do is re-invent the wheel with every project. I decided to treat the next shoot as a systems implementation.
I had four changes that had the biggest impact.
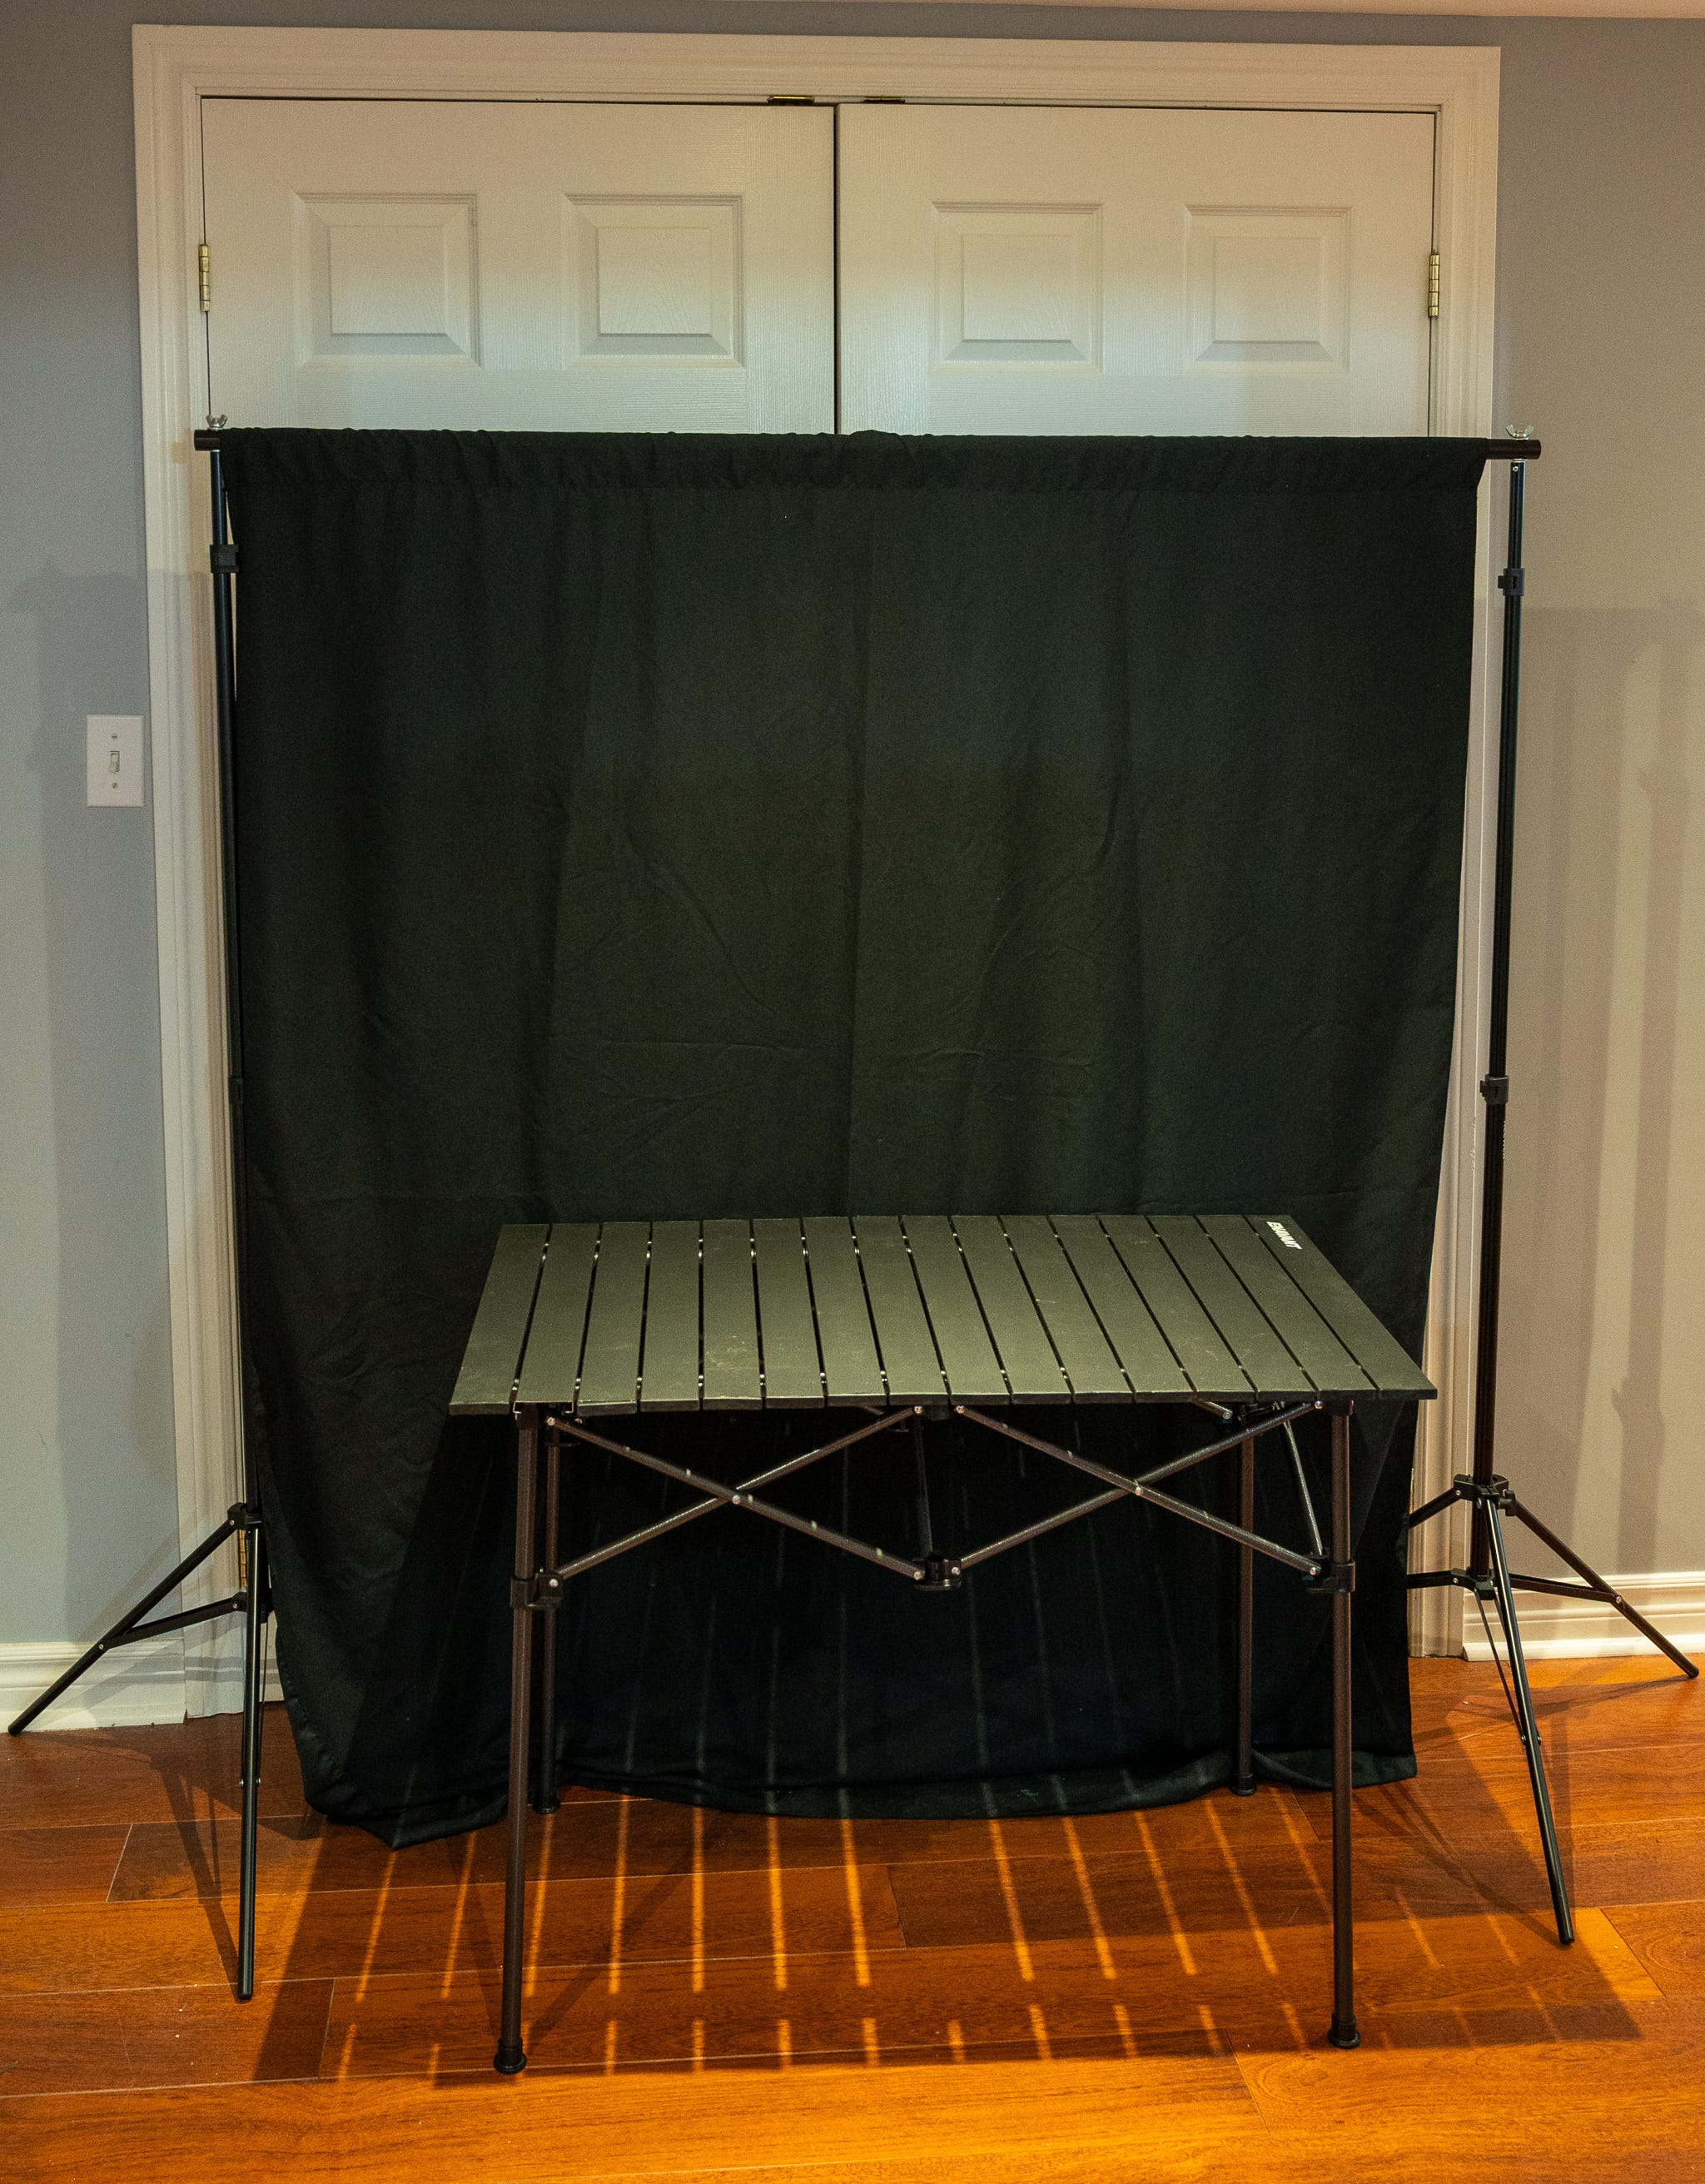
First, I needed a sturdy yet foldable table for multiple exposures. Unlike photographing a watch or a coin, photographing a Macintosh Classic is like photographing a dense aesthetic brick. A flimsy card table will wobble during long exposures, creating a much longer post-processing headache.
I also needed a better way to hold a background. One that also allowed me to have a larger set when required. I purchased the following:
NEEWER Photo Studio Backdrop Support System, 10ft/3m Wide 7ft/2.1m High Adjustable Background Stand with 4 Crossbars, 6 Backdrop Clamps, 2 Sandbags, and Carrying Bag for Portrait & Studio Photography - $60 Canadian
5x7FT Chromakey Green Screen Backdrop Background, 5x7FT White Backdrop Portrait Background, 5x7FT Solid Black Backdrop - $30 Canadian
ENAVANT Aluminum Portable Folding Camping Table with Carrying Bag Included, Ideal for Camping, Fishing, Picnics (X-Large) - $60 Canadian. I can also use it as an extra picnic or backyard party table. Very sturdy
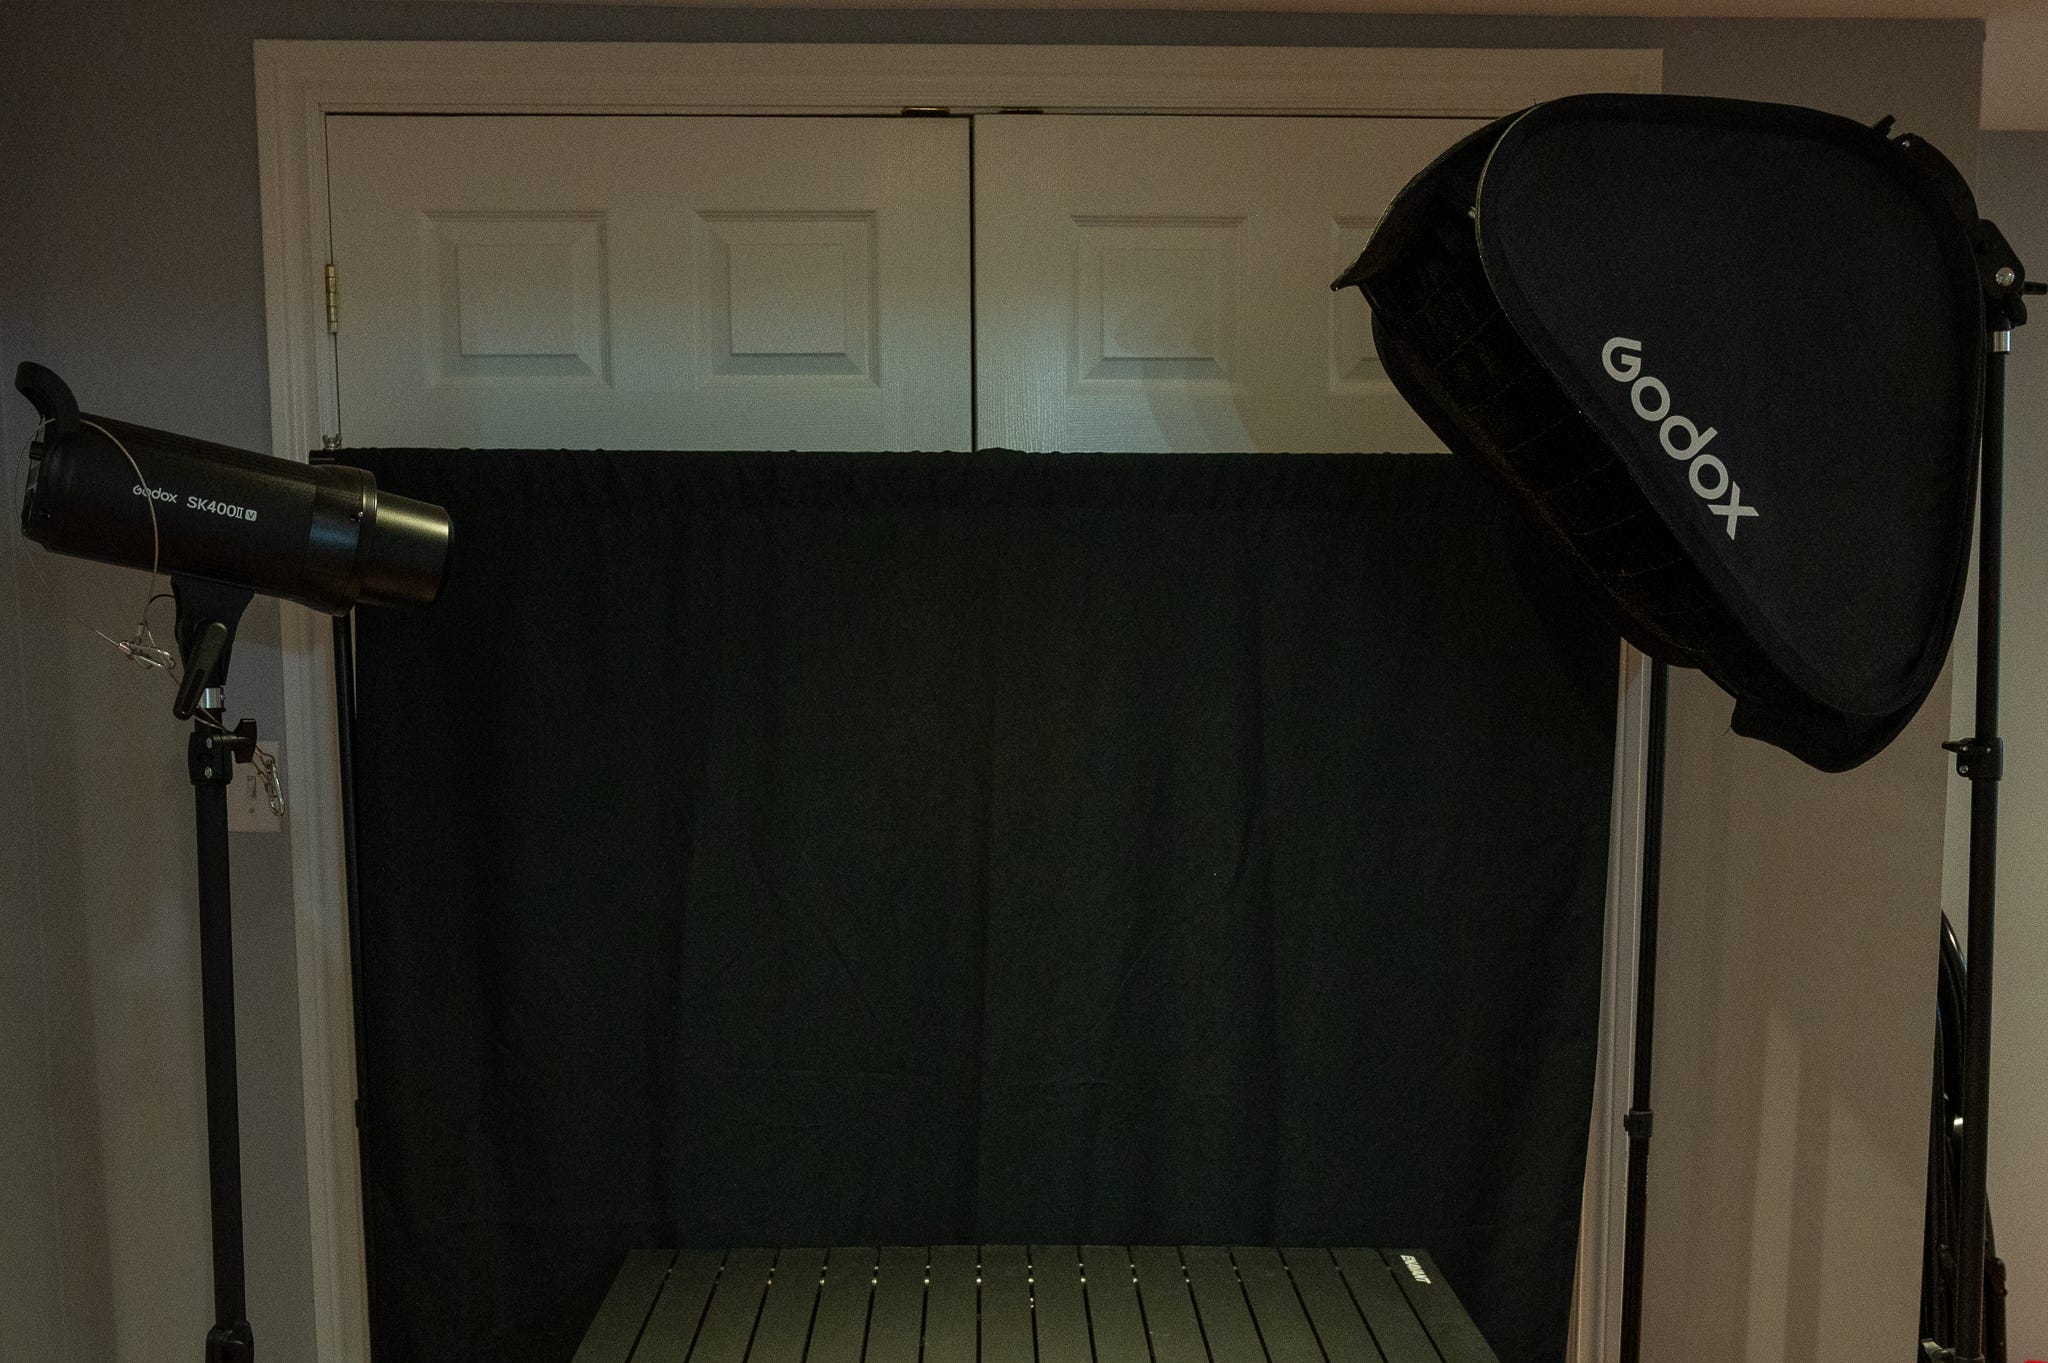
Second, the most important variable is lighting. I had a Godox TT350N Mini Thinklite TTL on-camera flash for my Nikon Z6. I also had picked up a Godox XPro-N TTL Wireless Flash Trigger Transmitter. I had these for a few years, and they worked well. I did not think I needed a larger light, so I also picked up a softbox and a mount that would let me use the TT350 with it.
To add to my flash and Soft Box, I picked up a budget-friendly Godox SK400 II-V during Amazon Prime Day. At under $300, it delivers 400 W of power, which is powerful enough for me, and has a fast enough recycling time to keep up with my workflow. Most importantly, this model includes an updated COB LED modeling lamp that helps keep the heat down during long sessions.
GODOX 60x60cm / 24x24inch Foldable Grid Softbox + S-Type Bracket Bowens Mount Holder for Studio Photography (SFGV6060)
Third, I needed a small “Tethering Radius”. Very early on, I found an easy way to tether. I could take my Nikon Z6 with Adobe Lightroom Classic or Nikon’s tethering app to my Apple MacBook Pro. I can then establish a way to see my resulting photo immediately. Since everything was close together, I consolidated it into a single power strip to avoid the resulting “cable jungle”.
I had a TV table and a USBC Data cable to use as a tether.
I picked up a Video tripod at a Value Village re-use store for $7 and found it quite sturdy. A big feature turned out to be an easy positioning, highly adjustable head, making minor on-the-fly adjustments easier.
I also picked up a nicely textured wooden box at Value Village to use as a photo base - $15 Canadian.
From Home Depot, a Natural Elements Laminated Wood Project Panels 3/4-inch x 16-inch x 36-inch - $25 Canadian
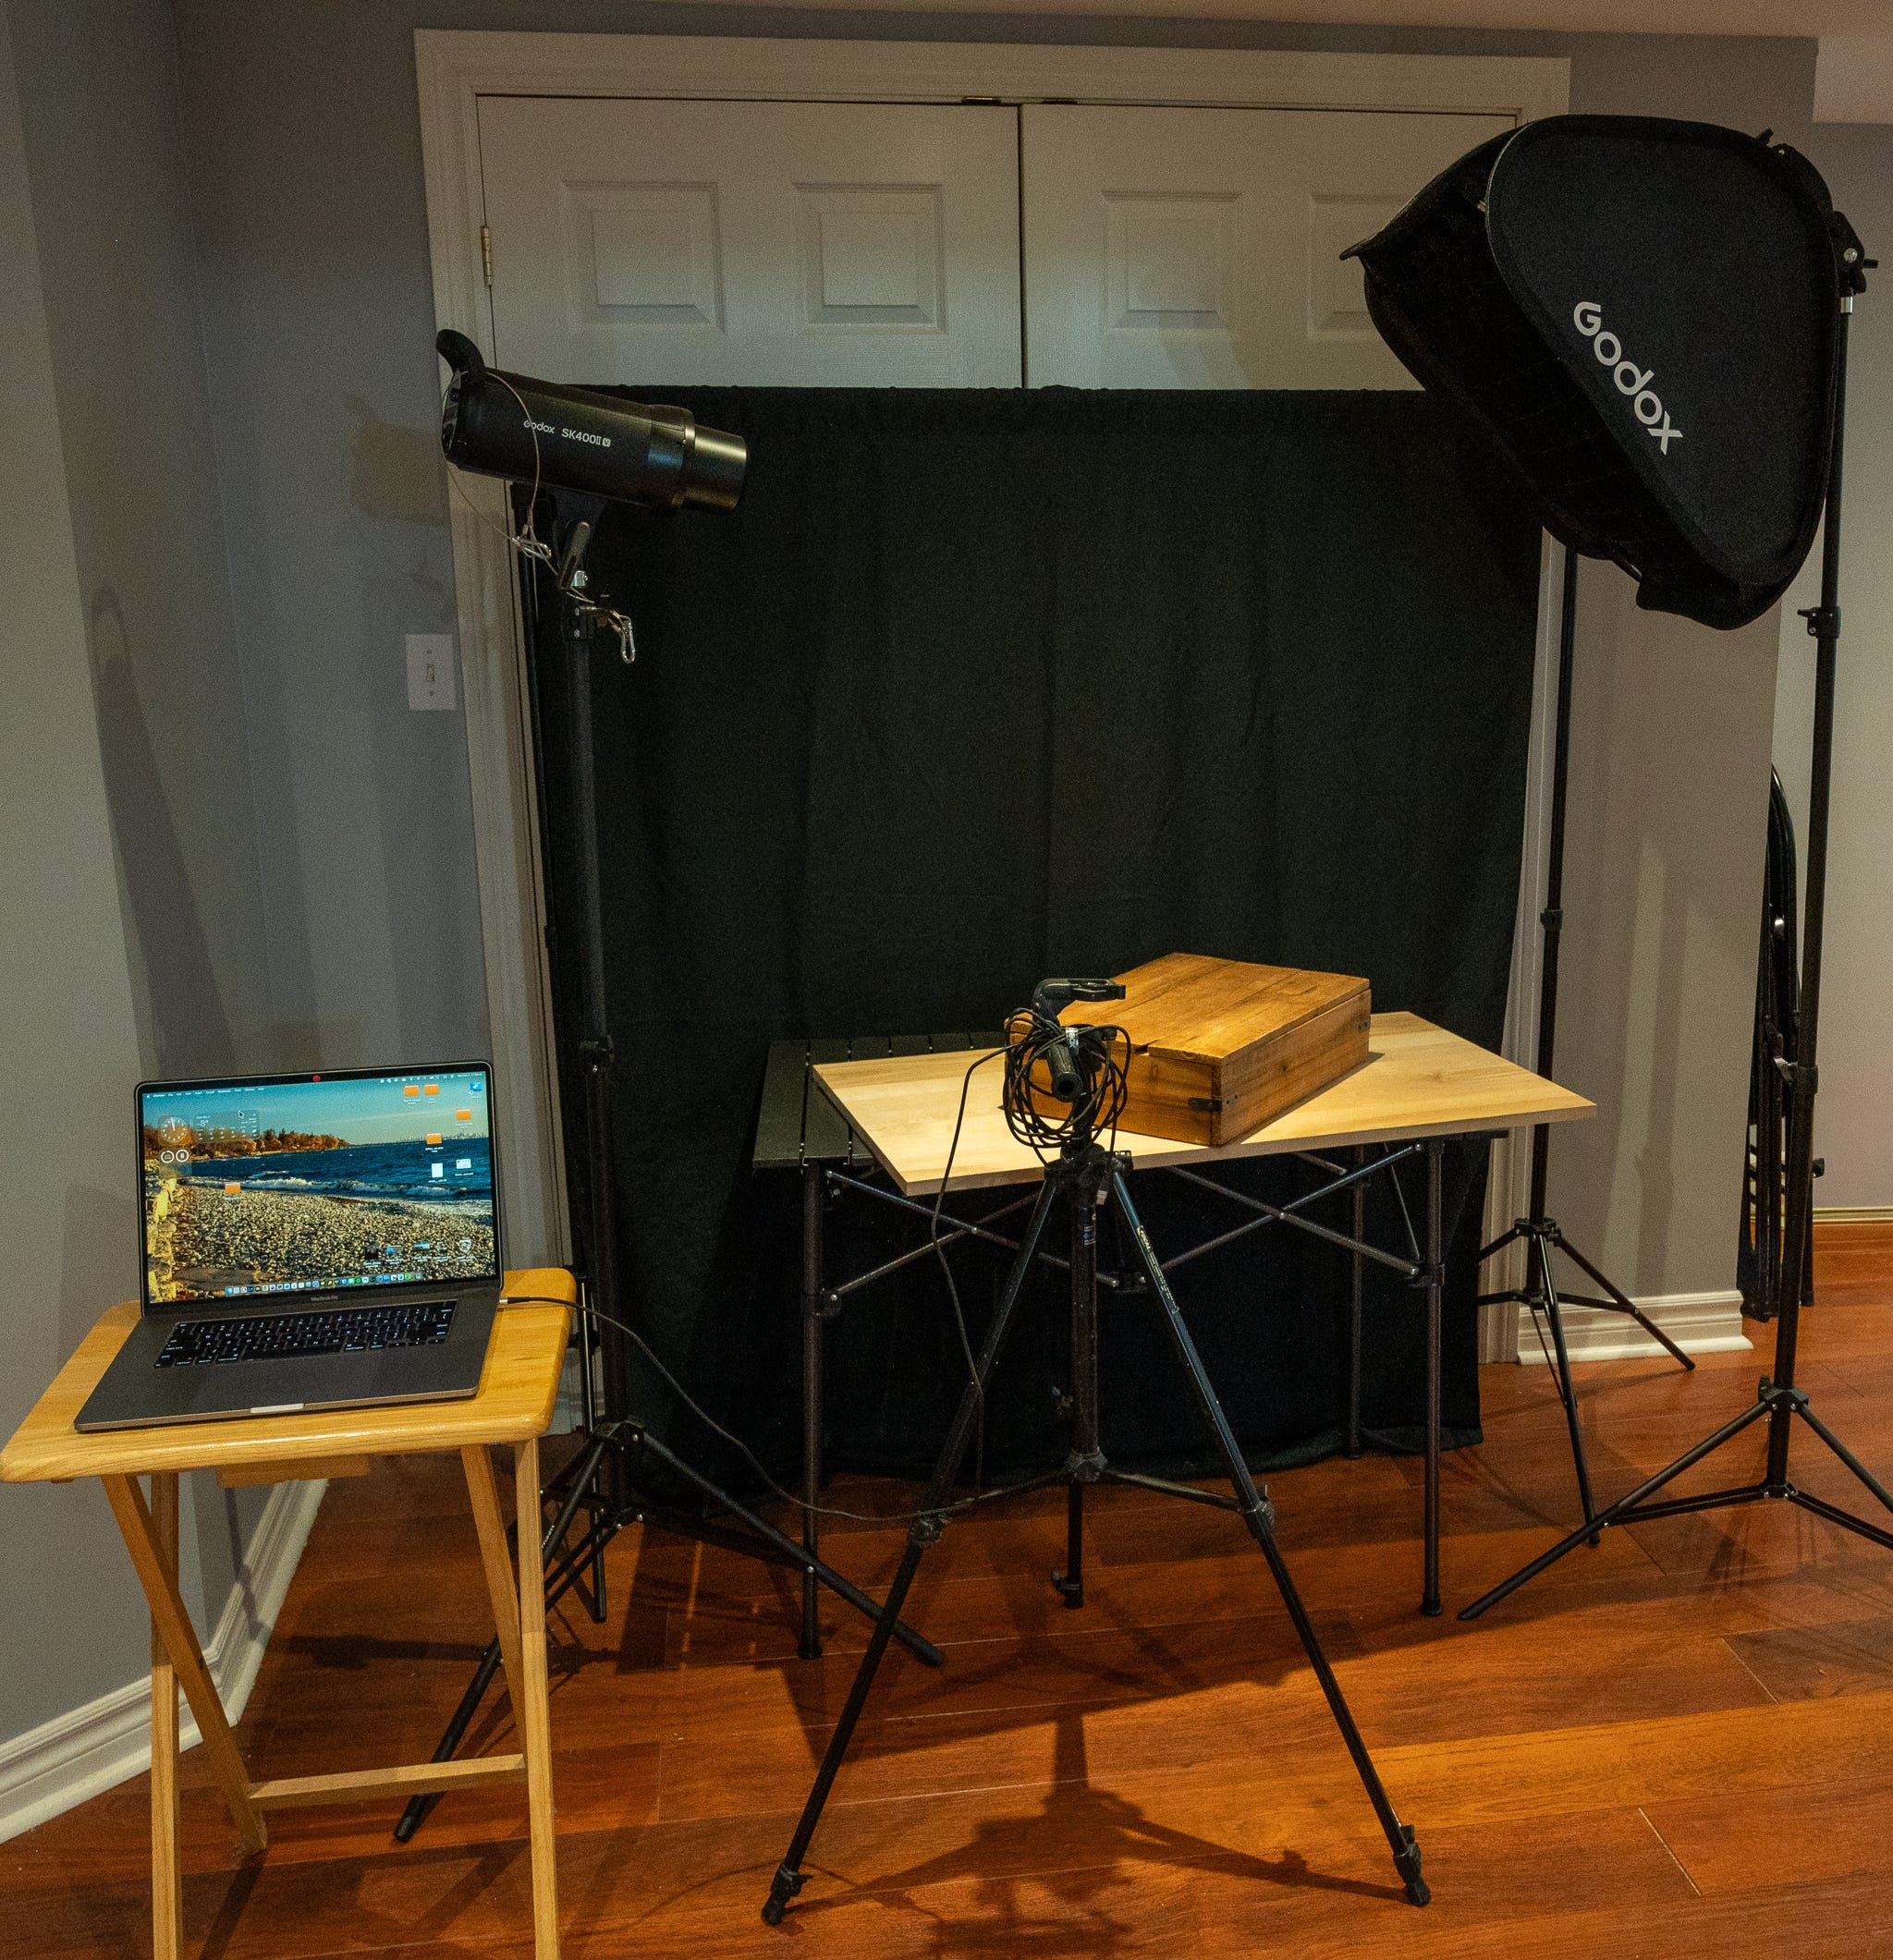
The final studio setup meets all my requirements. Now to solve my process.
The Runbook - The Process Checklist
Based on my experience so far, I’ve realized that a written plan, or Reusable Step-by-Step Guide, is becoming the backbone of a smooth home-studio photoshoot. It helps me clarify my ideas, ensure every piece of equipment is ready, capture key lessons from each session, and write down exactly what I want to achieve. These new habits not only streamlined my workflow but also strengthened my creative skills.
Runbook: Before I even touched the camera, I wrote down exactly what I wanted to achieve.
It sounds rigid, I know. But the structure created freedom. Because I wasn’t worrying about the table collapsing or tripping over a cable, I was free to actually look at the light and shadows on the vintage plastic.
The next newsletter issue will go into the task list in more detail.
Product Photography Process Checklist
Stage 1: Define the Concept & Purpose
Before I pick up a camera, I must determine the image’s story to avoid shooting aimlessly. Find the photo’s specific goal, select a visual theme, and, if needed, gather a mood board to ensure our creative direction aligns with the intended outcome.
By working out the high-level details, mapping decisions to the overall story becomes easier. This allows me to make decisions along the way while keeping the end goals in mind.
For example, if my goal is a dark, moody vibe and we bring in a brightly colored prop, it won’t fit the project’s overall vision. The goal is to make far fewer “Fix-it-in-Post” issues after the shoot.
Stage 2: Plan the Logistics
Here, we determine the physical constraints and the shoot stage. Deciding on the location (studio vs. natural light), select the appropriate background materials, and schedule the session to maximize favorable conditions. Proper planning here eliminates variables that cause friction during the actual shoot.
Stage 3: Assemble Your Equipment & Props
After spending all that money on my kit, let’s select and organize what we need. We need to identify the necessary tools, such as cameras, lenses, lighting modifiers, and styling props, are set up and ready for deployment.
It is about fitting the technical capabilities of your gear (macro lenses for detail, softboxes for diffusion) to the requirements defined in Stage 1.
Stage 4: Setting Up the Shoot
The “build” phase, where we construct the physical set. We arrange the product and its positioning, and configure the lighting to shape the subject effectively.
Most importantly, we are setting up the “tether” to the computer, ensuring I can validate the images in real time on a large screen rather than relying on the small camera LCD.
Stage 5: Shooting Techniques
Now is when the planning pays off. Instead of just “spraying and praying,” use the shot list and evaluate how the work in real life.
The big advantage of using a human creator rather than AI is that we can draw on our experience, judgment, and “artistic flair” to bring our scene to life and capture it.
Don’t just take one shot and move on; capture a variety of angles and slight lighting tweaks. I cannot stress this point enough.
You will be able to choose from multiple options later, rather than realizing you missed the best angle after you’ve already packed up. Don’t assume that you make all your decisions in preparation.
Stage 6: Post-Production & Editing
Once all the pictures are complete, continue with your normal editing workflow. Take the raw captures into the digital darkroom (Lightroom or Photoshop) to correct imperfections, balance exposure, and refine the color grading.
We want to refine the look to ensure the final result stays true to the idea we started with.
Stage 7: Sharing & Delivering the Final Photos
Here we format the deliverables. This stage involves exporting the processed images to the appropriate file formats (JPEG, PNG, TIFF) for their end use. Whether organizing files for cloud storage or resizing them for social media platforms, ensure the work is presented at the highest quality possible.
You may find you want vertical, horizontal, and other sizing ratios. One version no longer cuts it, as different social media sites may require different sizing.
Stage 8: SEO Optimization
If these photos are for online sharing, you need to ensure they are discoverable. Just as a photo library needs indexing, our images need metadata to be found. This stage involves crafting search-engine-friendly titles, descriptions, and keywords to ensure the content reaches the intended audience and performs well in search rankings.
Note: I want to develop my workflow, and since this is my first cut, I have already added more detail. I will definitely post more details in the future.
What do you think?
I’m curious about the other techniques out there. When you set up for a shoot, do you have a pre-flight checklist, or do you prefer to wing it in the name of creativity?
Let me know in the comments below.
FYI
Think of the Macintosh Classic as a modernized, budget-conscious reboot of the Macintosh Plus. It packed an 8 MHz processor and a humble 1 to 2 MB of RAM into that iconic, compact case with the 9-inch monochrome screen. While it wasn’t winning any speed races even back then, it holds a special place in history as the first Mac to launch under the $1,000 mark.”
References:
EveryMac.com provides comprehensive Mac specs, in-depth answers to hundreds of Mac questions,